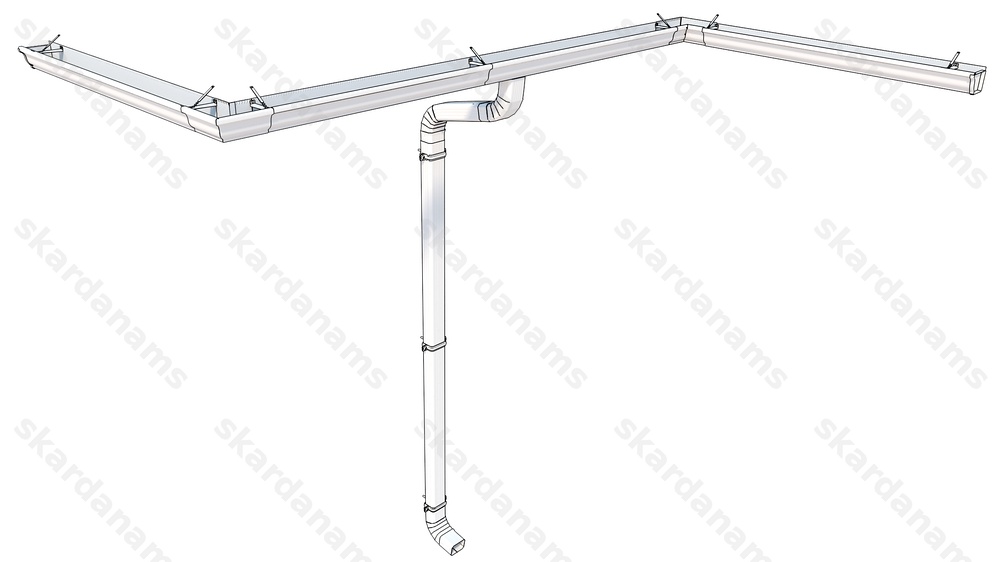
K-style rainwater system assembly instruction sketch, drawing.
Rainwater system
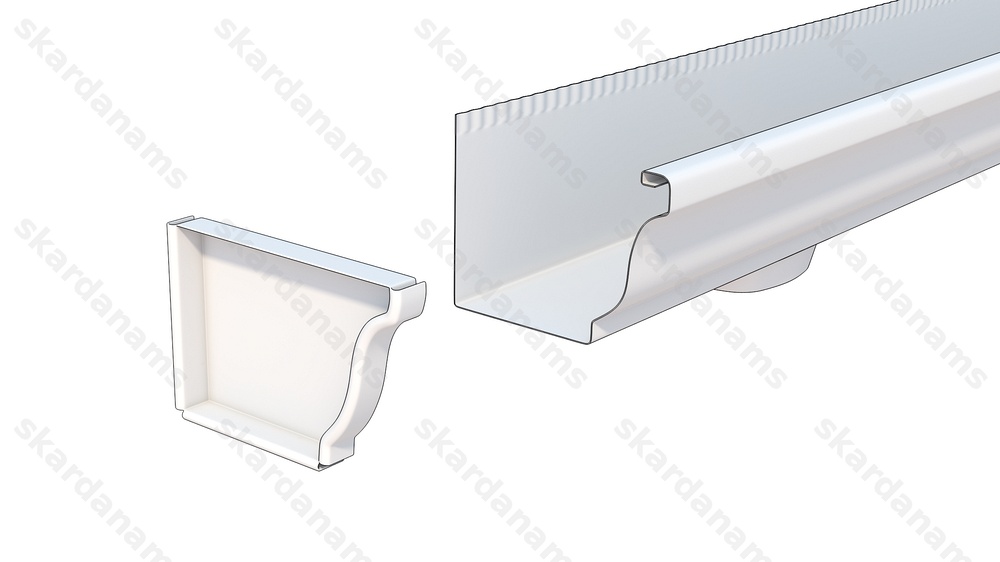
1. Gutter end cap
2. Gutter
3. Fascia bracket
4. Gutter corner, inner
5. Hanger
6. Drop outlet
7. Gutter corner, outer
8. Elbox
9. Downspout
10. Downspout strap
11. Downspout elbow
Rainwater system components
1. Gutter end cap, right
2. Gutter end cap, left
3. Gutter
4. Gutter fascia bracket
5. Gutter corner, inner
6. Gutter corner, outer
7. Gutter hanger, short
8. Gutter hanger, long
9. Gutter hanger, inclined
10. Drop outlet
11. Elbow, A
12. Elbow, B
13. Elbow, C
14. Downspout
15. Downspout strap, simple
16. Downspout strap, double
17. Downspout elbow
Ordering rainwater system
Before ordering rainwater system the following information is required:
• roof sketch with dimensions
• length of roof edges (L)
• height from the ground to the bottom of the eaves edge (Н)
• Width of the lower edge of the roof (C)
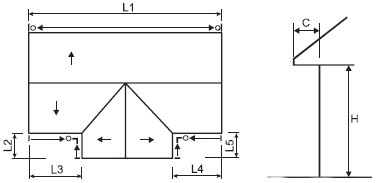
Ordering K-style rainwater system. Roof sketch.
The diameter of the rainwater system and its assembly specification depends on the size of the roof and the hose, and its configuration.
One square meter of the roof area requires one square centimeter of cross-section of the downspout. Our rainwater system has 68 square cm cross-section. The maximum distance between downspouts should not be more than 10 meters, otherwise, as a result of heavy perception, downspouts will not be able to remove all the water from the roof. The shorter the distance between the downspouts, the less chance for water to freeze during cold winter periods as well as for falling leaves to stuck inside the downspout.
Required tools and additional materials
For high quality rainwater system installation, electric saw or circular sheet metal scissors, drill, riveter, silicone, nails and rivets are required.
Scratches on the surface of rainwater system components, caused during transportation or installation can be painted with the appropriate spray colour.
For cutting materials never use abrasive disks!
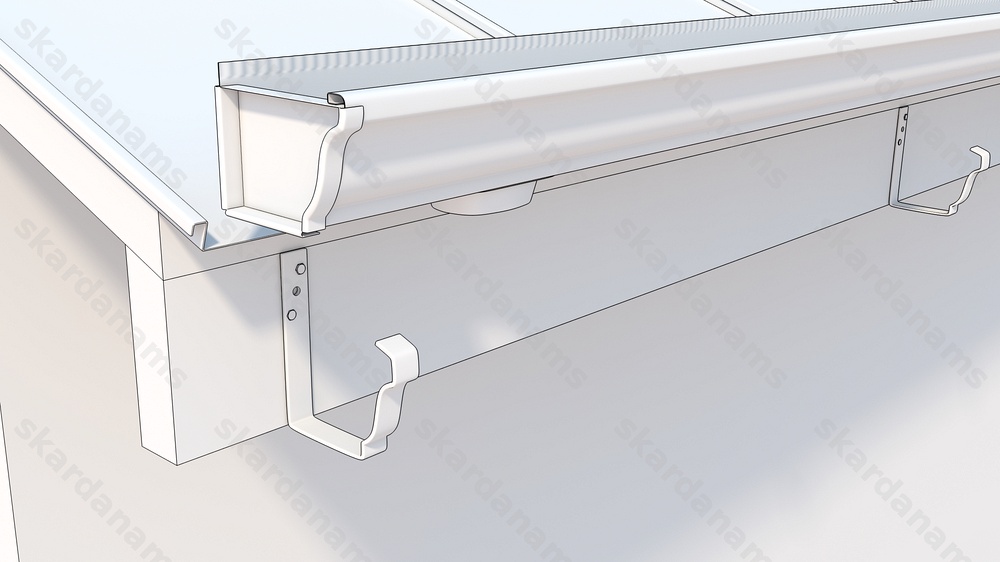
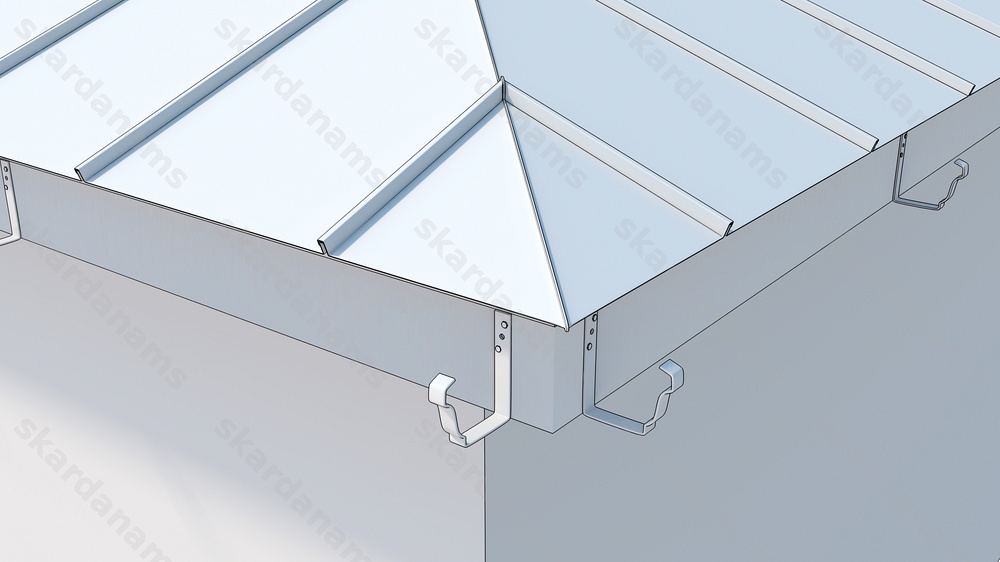
Rainwater system hanger installation
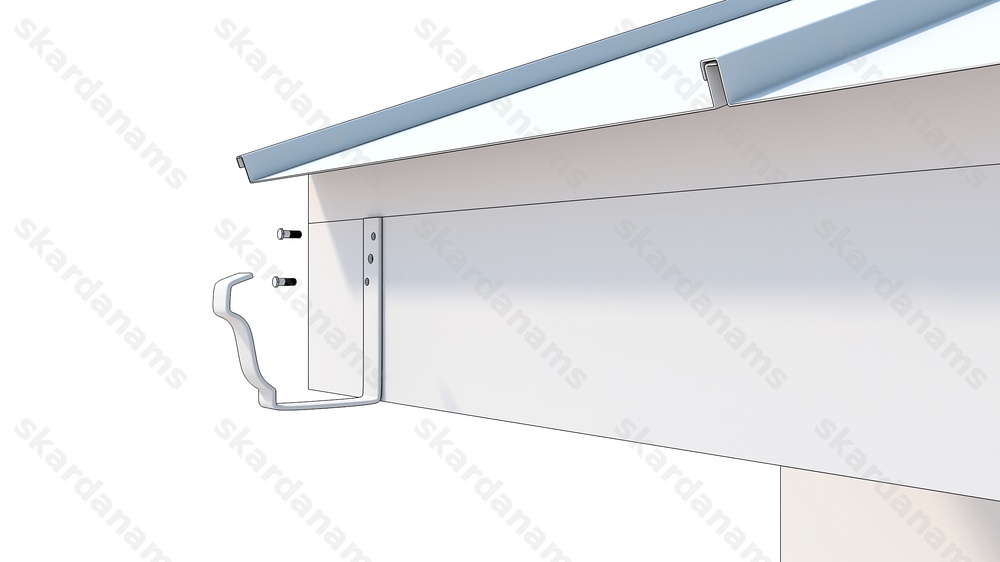
Hanger installation
Gutter hanger installation begins at that eaves side that is designed to have a tilt towards the downspout pipe. The first and last hangers are mounted on the distance of about 150mm from the end of the eave.
Gutter hanger assembly. Screws.
The first hanger is mounted so that the distance between an imaginary extension of the roof surface and the gutter should be at least 25mm. It is recommended not to fasten one of the screws till the end in order to bind an equalizing cable to its threshold.
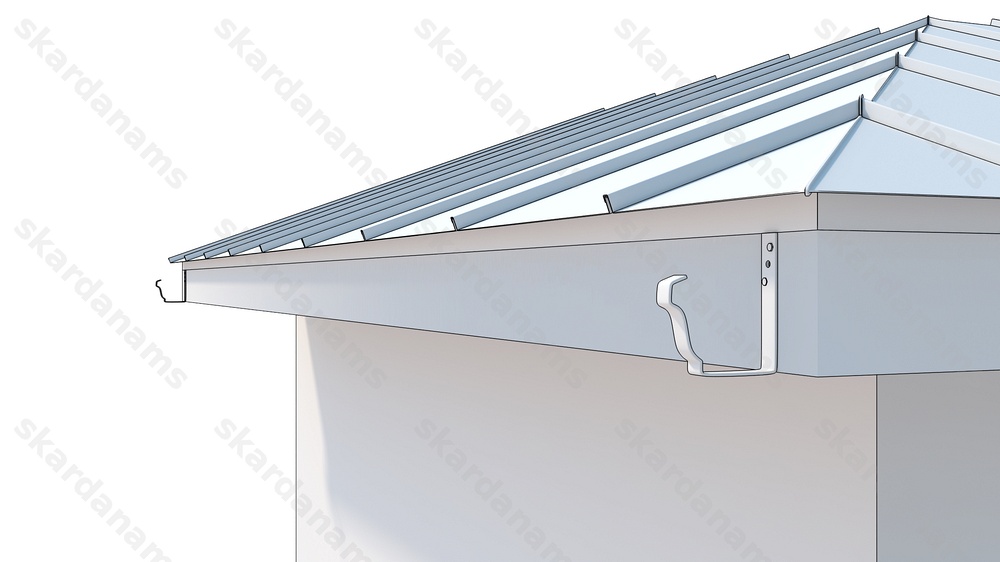
Gutter hanger assembly. Eaves edge.
The next hanger on the end of the eave plank is attached in accordance with required inclination of the gutter. The recommended inclination of the gutter is around 2-3mm per meter of the drain. This hanger is also left unfastened with one of the bolts/screws and an equalising cable is fastened to it.

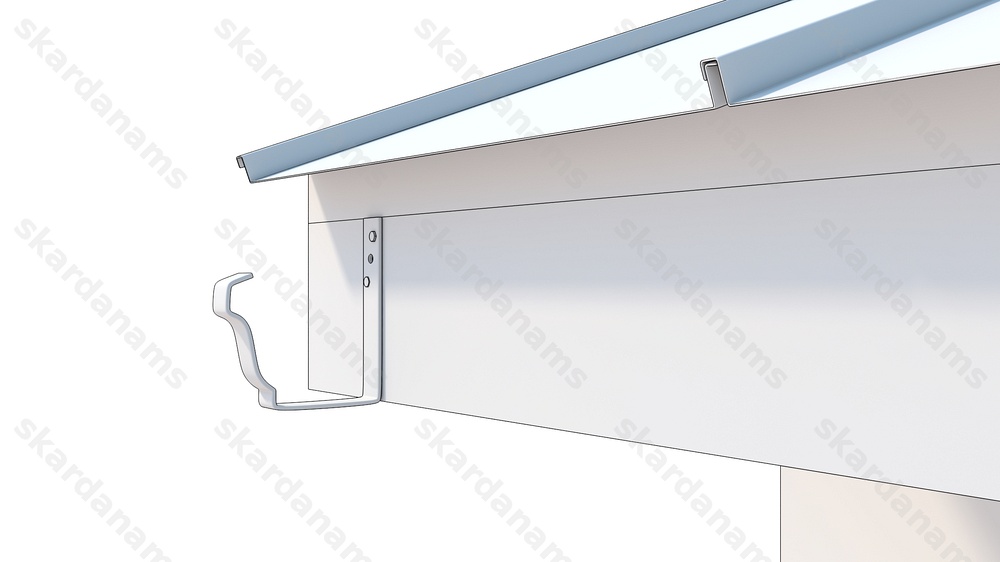
Gutter hanger assembly distance.
The distance between gutter hangers should be no more than 900mm. The remaining hangers in accordance with the equalizing cable are attached to the eaves edge. At the end it is required to fasten the unfastened bolts/screws to which the equalising cable was attached.
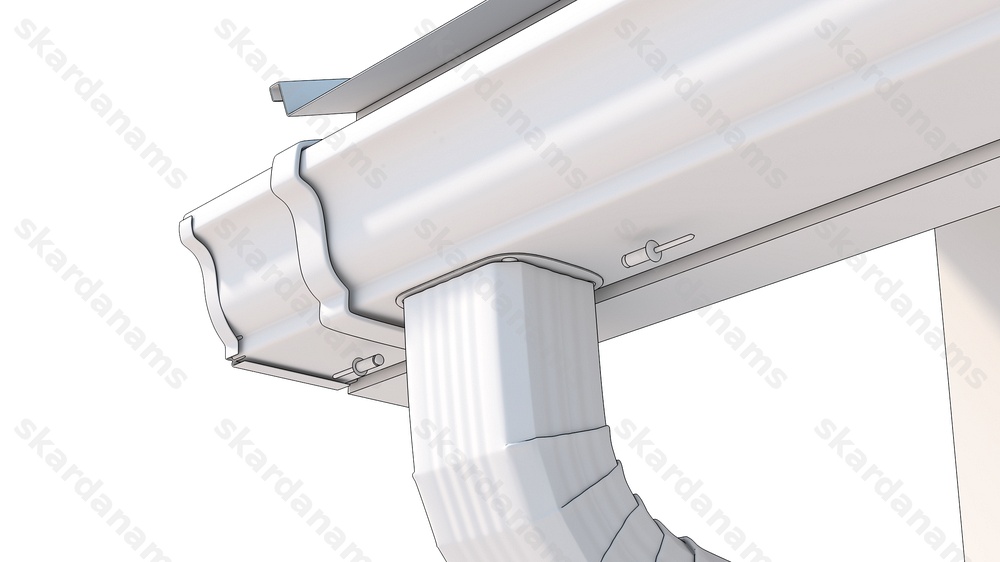
Drop outlet assembly
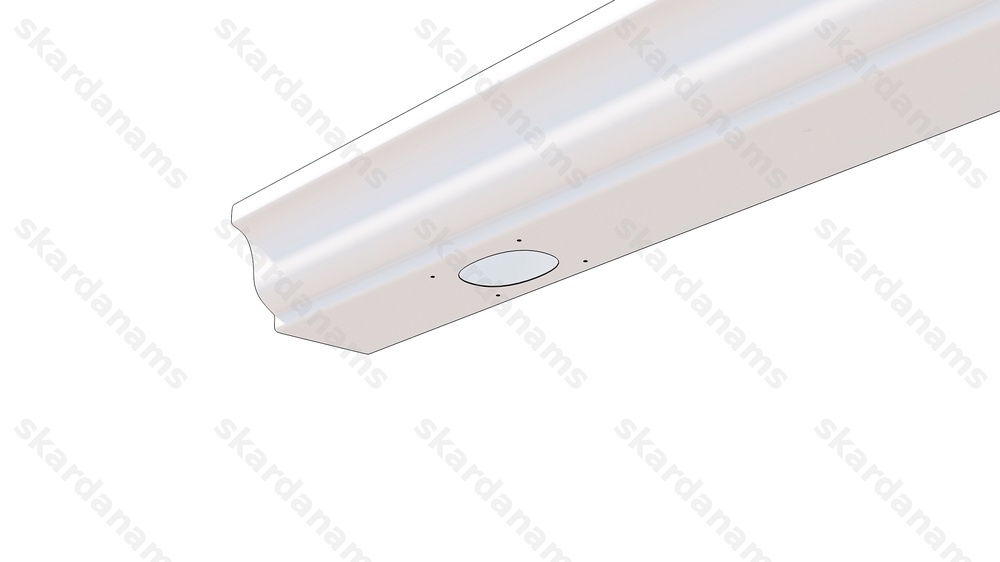
Gutter drop outlet assembly. 1 step.
The point where the downspout will be connected to the gutter should be marked. The marked place then should be cut out from the gutter with the help of sheet metal scissors.
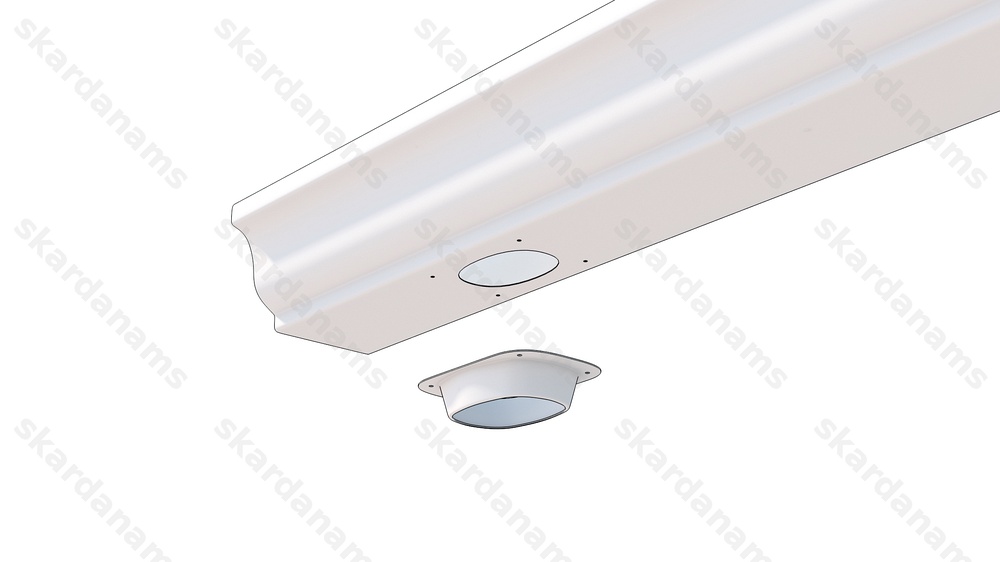
Gutter drop outlet assembly. 2 step.
The drop outlet and the gutter are connected with each other with accordance to the water flow direction in the gutter.
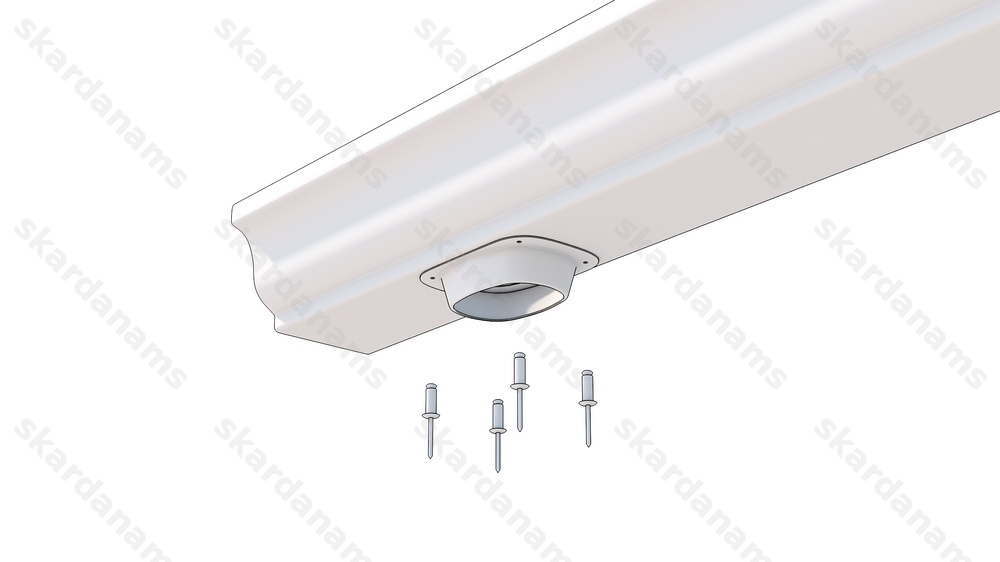
Gutter drop outlet assembly. 3 step.
The connection place is strengthened with the help of rivets.

Gutter drop outlet assembly. Final result.
Gutter end cap installation
Gutter end cap installation
First a silicone should be applied on the place of connection. Second gutter and the end caps are connected with each other and fastened with the help of rivets.
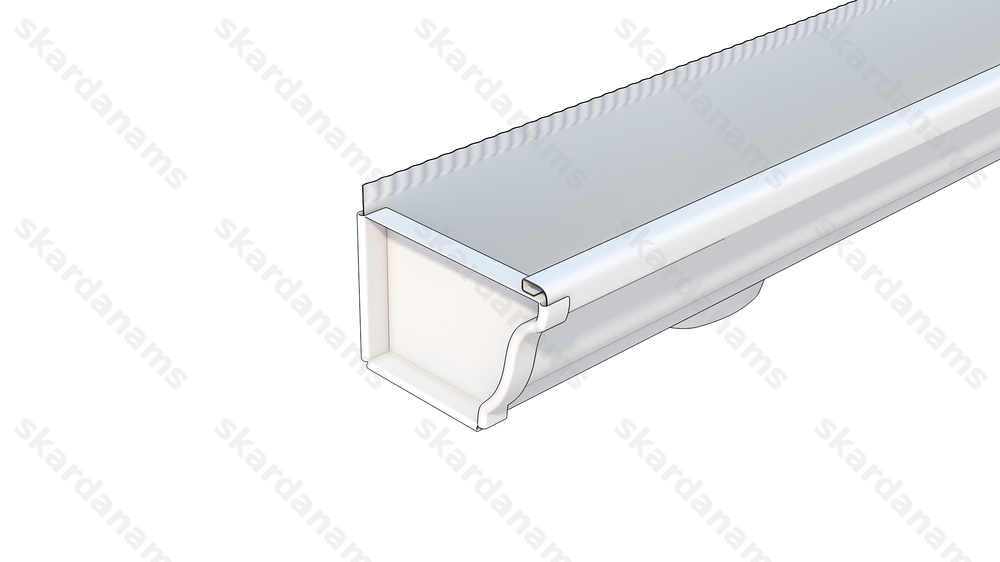
Gutter end cap installation. Final result.
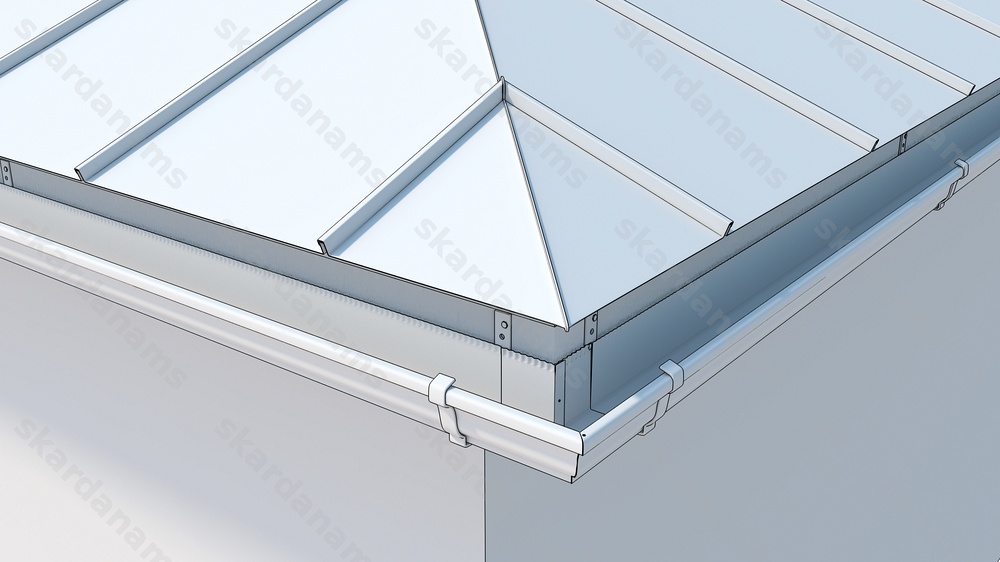
Gutter assembly
Before gutter assembly, it is recommended to connect all of its related components like end caps, drop outlets and corners.
The distance between the inner gutter fasteners should be more than 900mm.
Gutter and hanger assembly.
Place the back side of the gutter into the hanger and then push its front side into the hanger as well.
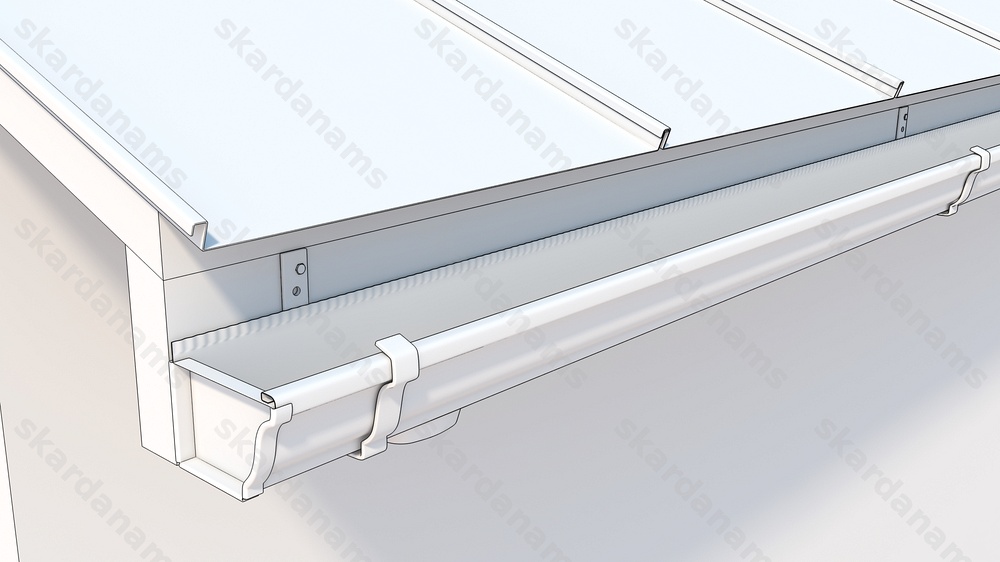
Gutter assembly. Final result.
Gutters should be placed into the hangers with the maximum precision. It is not recommended to move the gutters back and forth after the installation is performed as it may scratch the point.
Gutter joining
Before connecting the gutters the water flow direction should be taken into account. Gutters are connected by placing them into each other. The connection overlap length be at least 10cm. The place of junction must be filled with silicone and fastened with rivets.
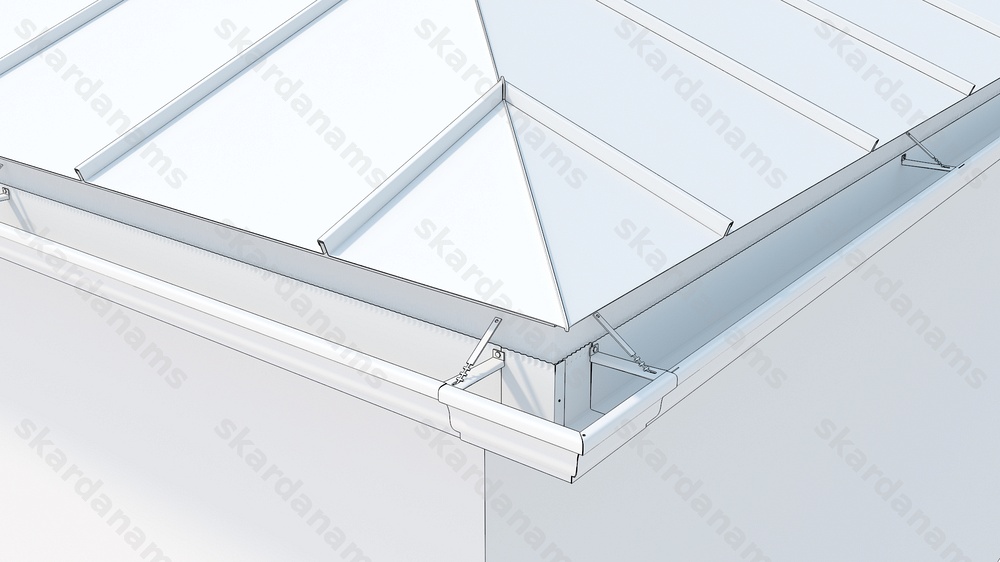
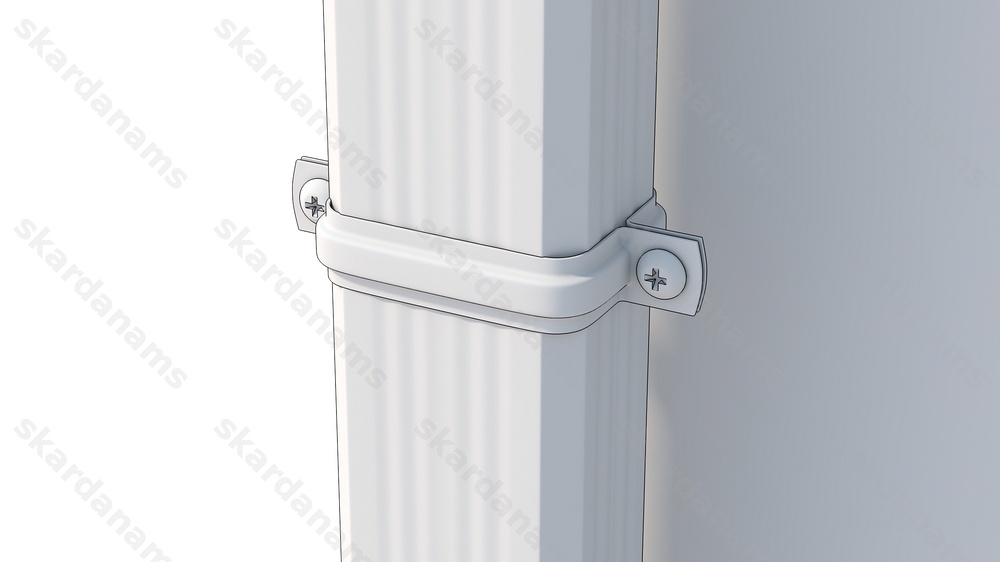
Gutter corner assembly
Gutter corner assembly. Hangers.
Gutter hangers are screwed as described above while maintaining the required inclination of the gutter.
Gutter corners connection.
Gutter corners with the gutter are connected same way as the gutter with gutter.
Teknes iekšēja stiprinājuma montāža.
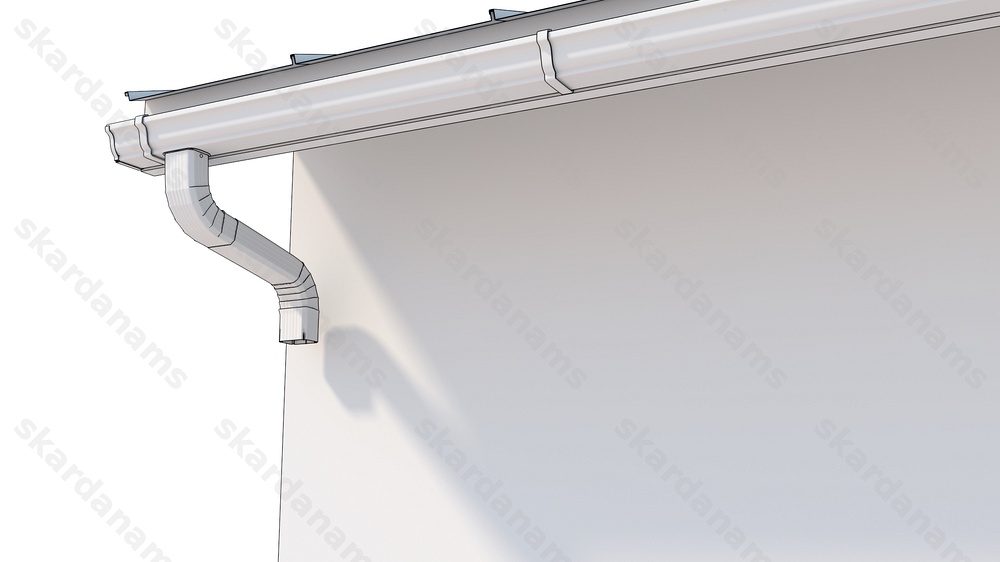
Downspout installation
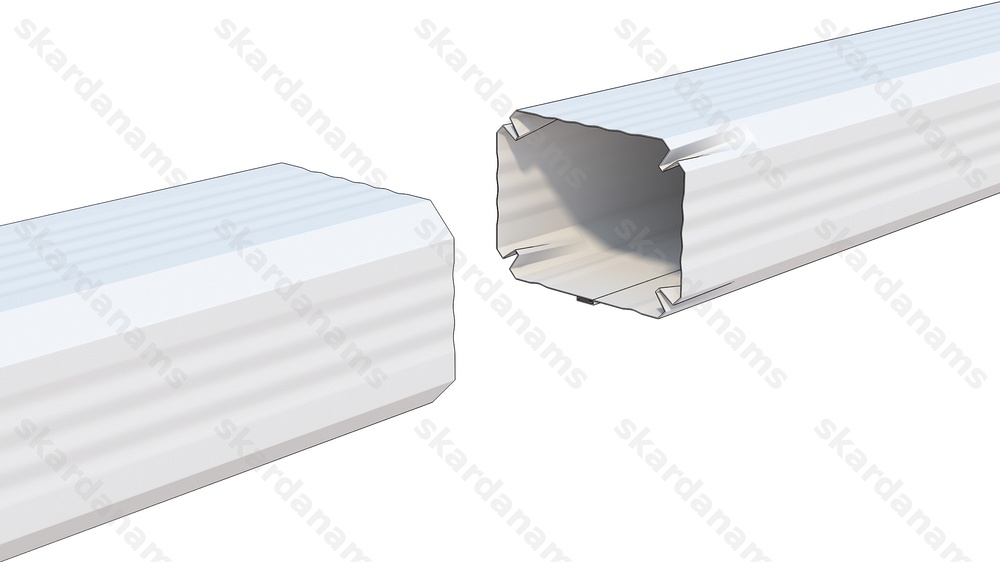
Downspout connection.
It is easy to connect downspouts and elbows together as one of the ends is more narrow than the other. The length of downspouts can be reduced by cutting not narrowed side away with the help of the electric saw.
Downspouts and elbow assembly.
Downspouts should be located 30 – 40 mm from the wall. It should be taken into account when downspout with inclination is installed.

Downspout elbow rivet fastening.
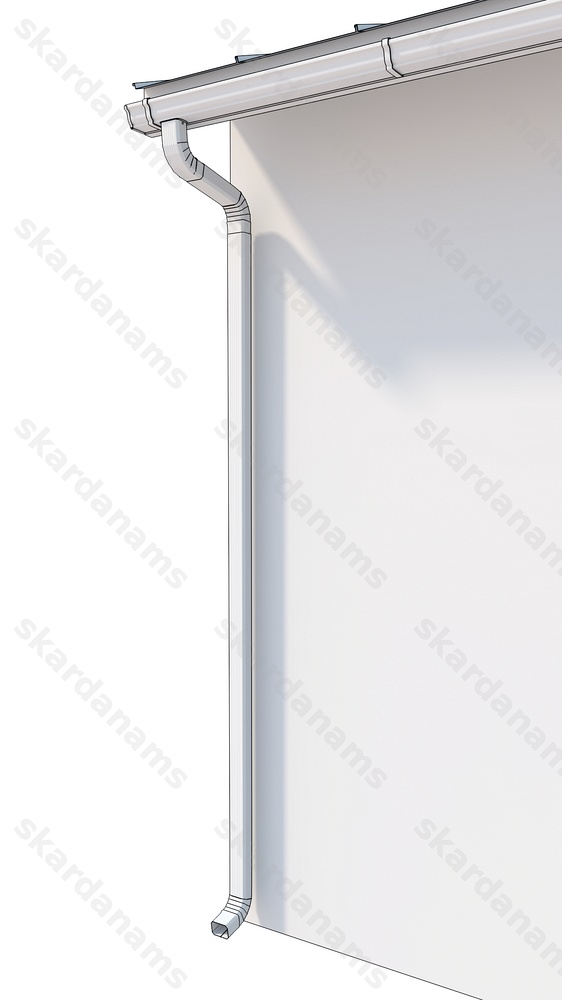
The bottom downspout elbow should be located at least 300mm above the ground. This should be taken into account when cutting vertical downspout according to the required size.
Downspouts and elbow assembly.
Downspout strap mount towards the wall should be accomplished at the same level as the joint place between two downspouts or the downspout and elbow is. Each downspout requires at least two straps. The distance between straps must not exceed 1,5 meters.
Downspouts and strap assembly.
The bottom strap should be located at the joint place of elbow and downspout. If this not possible then for elbow and downspout connection rivets or screws are required.
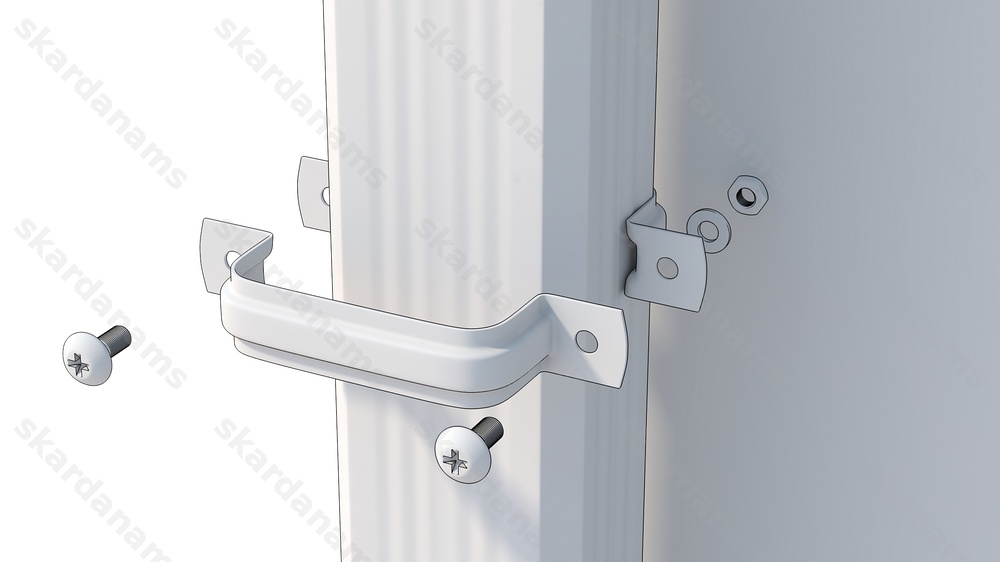
Downspout strap fastening.
For downspout fastening straps for wooden or stone walls are required.
Downspout strap wall mount.
Downspout and elbow are usually connected together on the ground, then it is connected to the gutter’s drop outlet and then with the help of a strap mounted to the wall.
Maintenance
In order to ensure longer exploitation period of a rainwater system it has to be regular checked and maintained.
The rainwater system should be checked at least once a year (preferably in spring) as the rain is not always completely washing out accumulated tree leaves, needles and other garbage that is stuck inside gutters or downspouts.
Rainwater system should be cleaned accurately otherwise scratches may show up on its surface.
It is allowed to clean rainwater system with water and soft brush. The water jet pressure should not exceed 50 bars. Painted surface cleaning agents are also allowed to be used. After agent is applied it should be left for several minutes to start working and then gently washed away with the help of large amount of water.